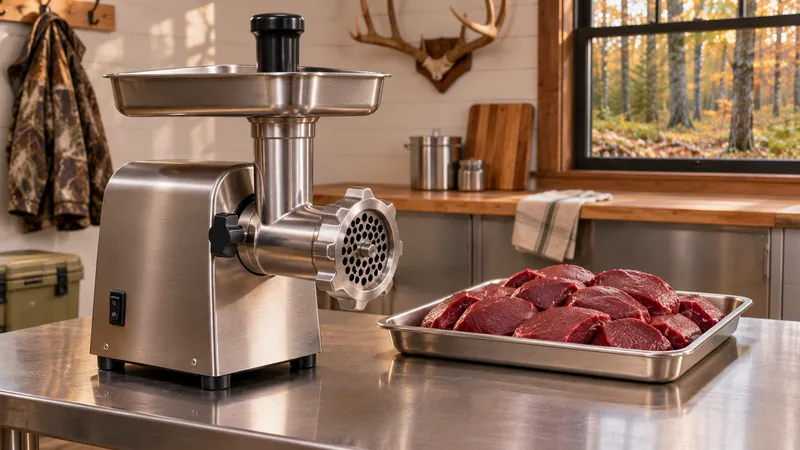
Choose a deer meat grinder by matching the amount of boneless meat you expect to process in a session to the machine’s documented capacity and operating limits. Also check plate options, cleaning access, storage space, and whether the manufacturer supports the intended food.
For individual options, see our comparisons of grinders for deer processing and heavy-duty grinders.
A hunter processing a few packages at a time does not necessarily need a commercial machine. Someone processing multiple animals in a short window should examine the whole workload, including preparation, cooling breaks, and cleanup, rather than relying on a large wattage figure.
Start with your real processing session
Estimate the amount of trimmed meat you typically grind at once and how often those sessions occur. If you divide an animal into several refrigerated batches, the machine does not have to process the entire animal in one uninterrupted run. Plan enough refrigerator space for meat waiting to be processed.
Compare the manufacturer’s published capacity with any instructions on run time, rest periods, and feed size. A maximum pounds-per-hour figure is a claim under stated or unspecified conditions; it is not a guarantee of continuous home output. Do not calculate a safe continuous operating period from that number.
Compare the machine, not just its head number
A larger nominal grinder head generally belongs to a larger size family, but #8, #12, or #22 alone does not specify motor power or real throughput. Check the motor specification, plate and knife availability, feed opening, electrical requirements, and machine weight together.
Distinguish rated power from peak or locked-motor wattage. A higher peak number does not establish that one machine will handle a longer session. A manually operated grinder can be useful for small batches, although the operator supplies the turning effort.
Plan the cutting and feeding setup
Choose a machine with plates appropriate to the texture you want and with replacement parts documented for its exact model. A coarse plate and a finer plate offer different options; their marketing labels do not define universal hole sizes. Follow the manual for assembly and use the supplied or approved pusher.
Prepare boneless meat as the manufacturer directs, trimming unsuitable material and cutting pieces to fit the feed opening. A grinder sold for venison is not automatically approved for bones, frozen bones, or every type of game. Check the specific model’s restrictions before processing anything beyond the stated application.
Keep the meat cold and the equipment clean
Safe processing starts before the grinder is switched on. Penn State Extension’s venison guidance recommends keeping the carcass at 40°F or below during the specified holding period, separating raw meat, and cleaning and sanitizing equipment before and after use. Follow local wildlife and health guidance for the animal and region.
Work with manageable portions and return meat to refrigeration promptly. Do not put a finished product in a container that held raw material unless it has been washed. For ground game, Penn State advises cooking to an internal temperature of 160°F, checked with a food thermometer; instructions differ for other foods and preparations.
Account for cleaning and storage
Food-contact components must come apart for cleaning. Check how the head, auger, knife, and plates are removed, and whether any parts have special washing or drying directions. Unplug electric equipment before disassembly; never immerse its motor housing.
A larger machine can demand more counter space and be less convenient to move. Choose a grinder whose workload, handling, and maintenance fit your actual season, rather than treating a hunting label or a large head as proof of suitability.
